
First thing I did was measure up the one who would wear the apron. I measured around her waist at the belly button, from her belly button to her collar bone and from her belly button to her knees. This gave me an idea of how long, tall, and how big around to make everything.
If you haven't done so already, always wash/dry your fabrics and iron them before starting your project. It's not a fun/glamorous step, but your finished product will look better if you do this. Trust me.
I cut the following pieces:
- Waistband (pink) - 4" wide and about 4" shorter than the waist.
- Waist Ties (pink) - 3" wide and about 20" long - cut 2
- Neck Ties (pink) - 2" wide and about 20" long - cut 2
- Skirt (patterned) - As wide as I could make it - turned out to be about 6" wider than the waistband. And long enough to go mid-shin on her. I left enough allowance for hems all around.
- Bib (patterned) - About as wide as her torso and long enough to go just below her collar bone. I tapered the sides of the top to give it a nice shape.
After cutting my pieces, I pressed everything into the final shape. This was another tedious step, but you'll thank me.

- Waistband - Folded it over and folded the ends in and pressed it (leaving a raw edge).
- Ties (neck & waist) - Folded sides toward center (long ways) and pressed, then folded in half (long ways) and pressed again. Then folded in one end on each tie and pressed that in place.
- Bib - Folded in edges and pressed, leaving the bottom edge unfinished
- Skirt - Folded in edges on the sides folded up the hem and pressed in place, leaving the top edge unfinished
Now's where the fun begins. I started with all the ties. I sewed each one lengthwise starting at the unfinished end, turning the corner at the finished end.
Then I did the bib, sewing down each folded down edge.
Then I did the skirt, sewing down each edge and then across the hem.
I attached the ties to the waistband by sewing a square - I wanted this to be nice and strong.
I attached the neck ties to the bib by sewing a "L" shape (following the seams of the bib edges).

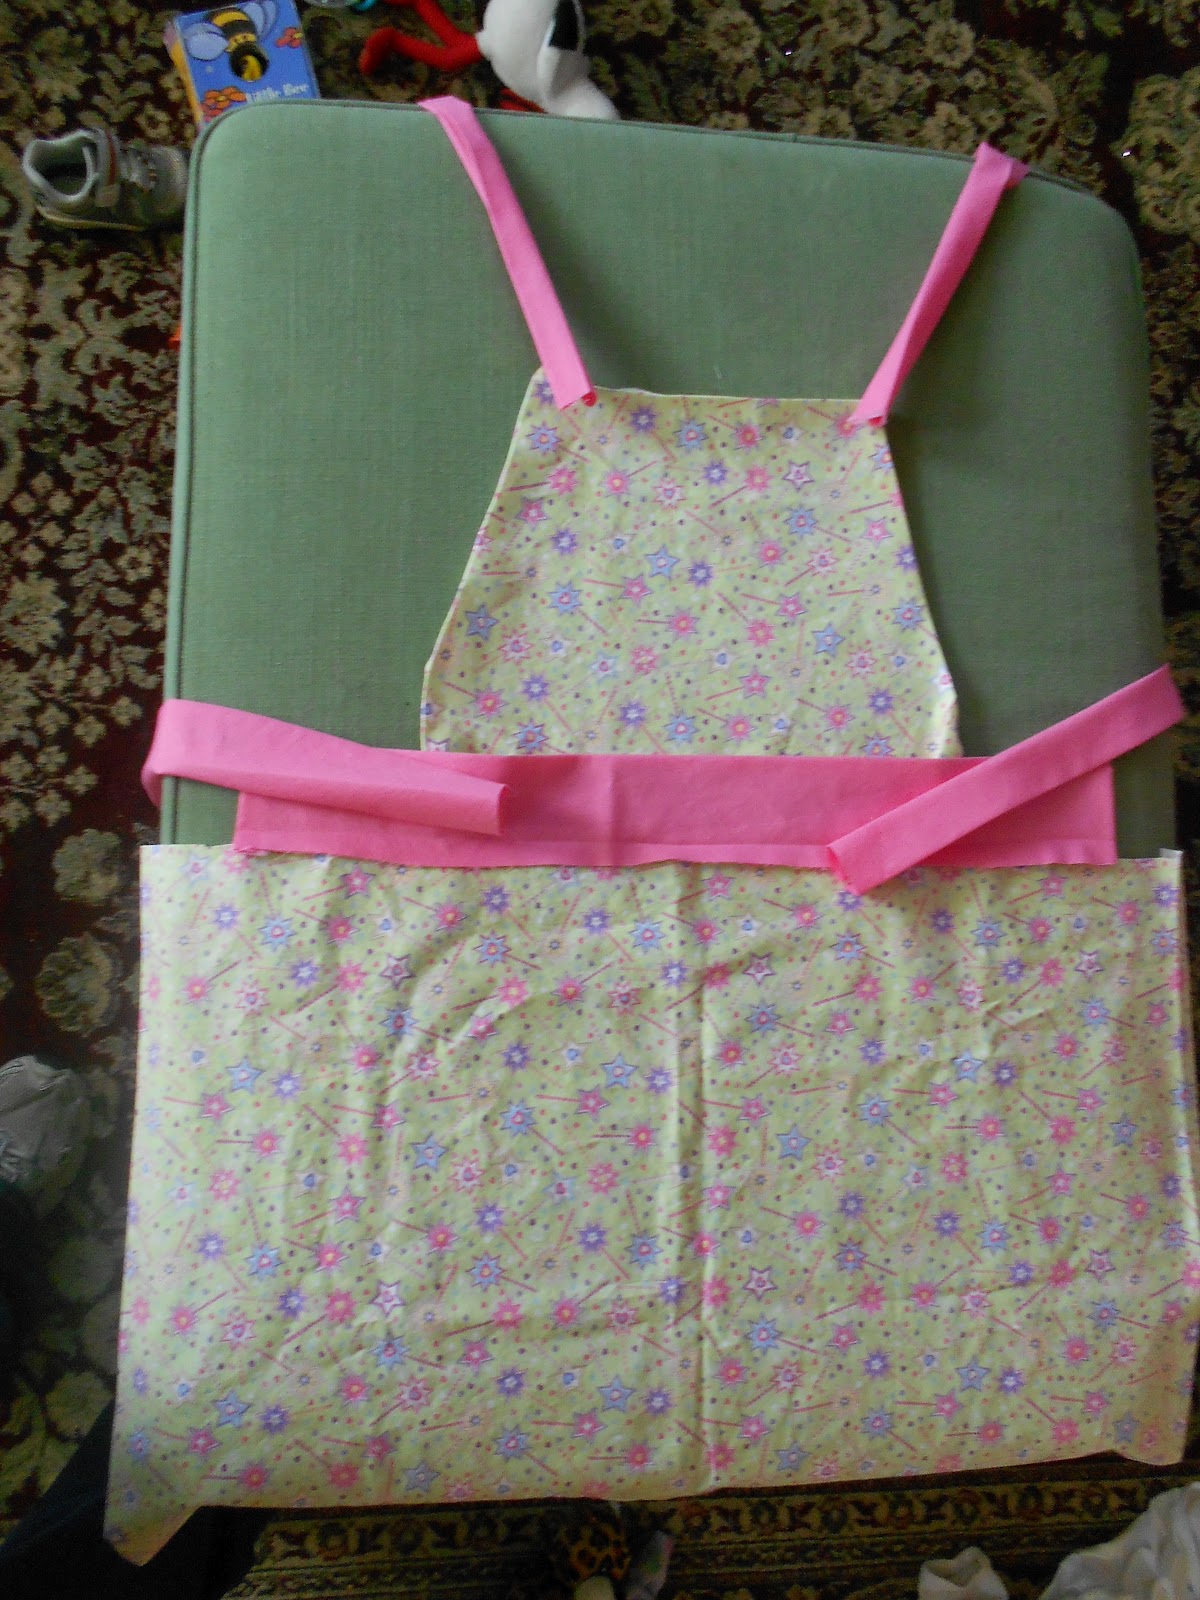
I pinned the skirt to the waistband (lining up the unfinished edges) and created some evenly spaced tucks. I sewed across the waistband.

I pinned the bib to the waistband (carefully centered) and top-stitched all the way across the top of the waistband.

After snipping all the loose threads we were DONE!


The ties are nice & long so she can grow and it will fit for quite a while. Right now the ties are long enough to tie in front.

She's been putting together "recipes" all afternoon since we wrapped this up!
No comments:
Post a Comment